
Welcome back! We’re almost finished.. it’s been so much fun creating this quilt with you! Let’s add another layer of fun to our Brooke project!
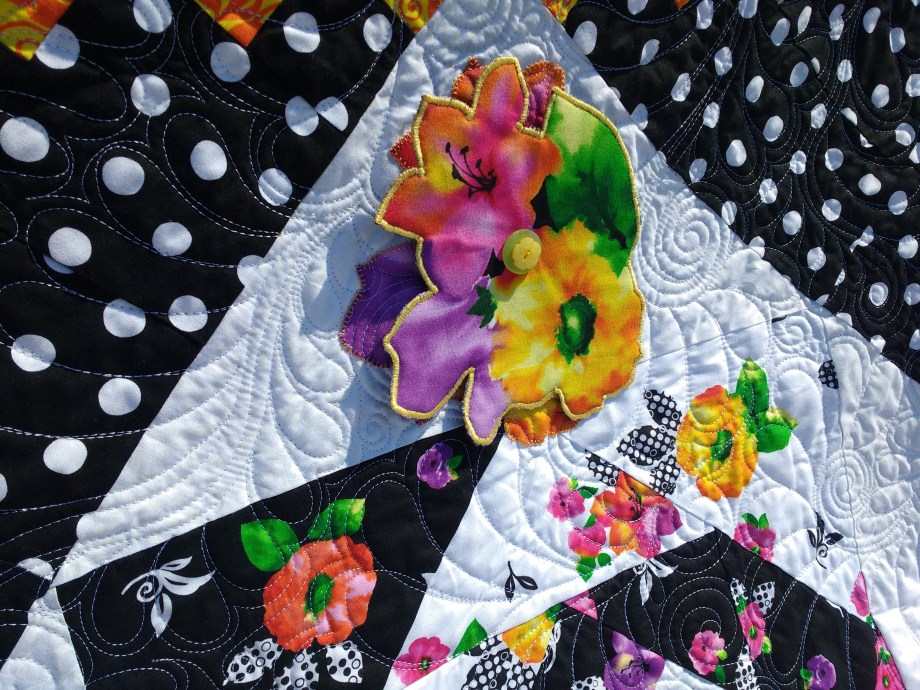
Once your quilt is quilted & bound, add some dimension and FUN to your finished quilt.

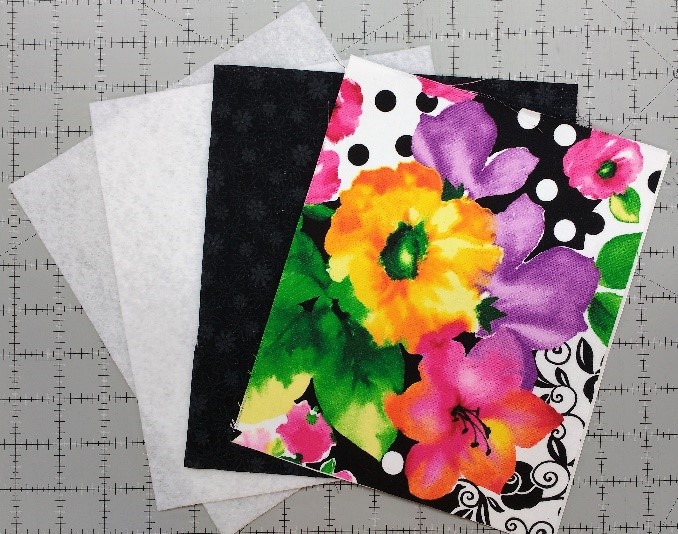
Cutting: – – – – – – – – – – – – – – – – – – –
Black Illusions, 21516-J
(1) rectangle the same size as the applique rectangle you reserved from Week 4.
Fusible Fleece
(2) rectangles the same size as the applique rectangle
Prepare applique: – – – – – – – – – – – – – – – – – – – – – – – – – – – – – –
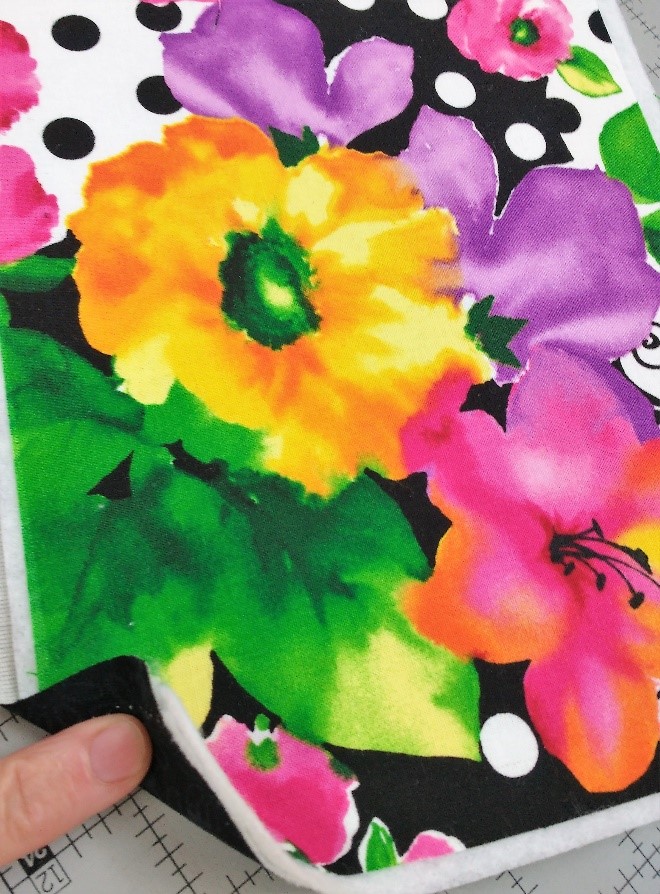
 Fuse 1 rectangle of Fusible Fleece to wrong side of the Black Illusions rectangle. Working quickly, while this is still warm, place the 2nd Fusible Fleece rectangle on top of the fleece just fused & fuse in place.
You’ll need a toasty-hot iron with steam to activate the glue on the second layer. Press & steam from both the fleece & the Black Illusions side.
Remove paper backing from floral applique rectangle. Position on top of fusible fleece. Fuse floral fabric to top of the applique sandwich.
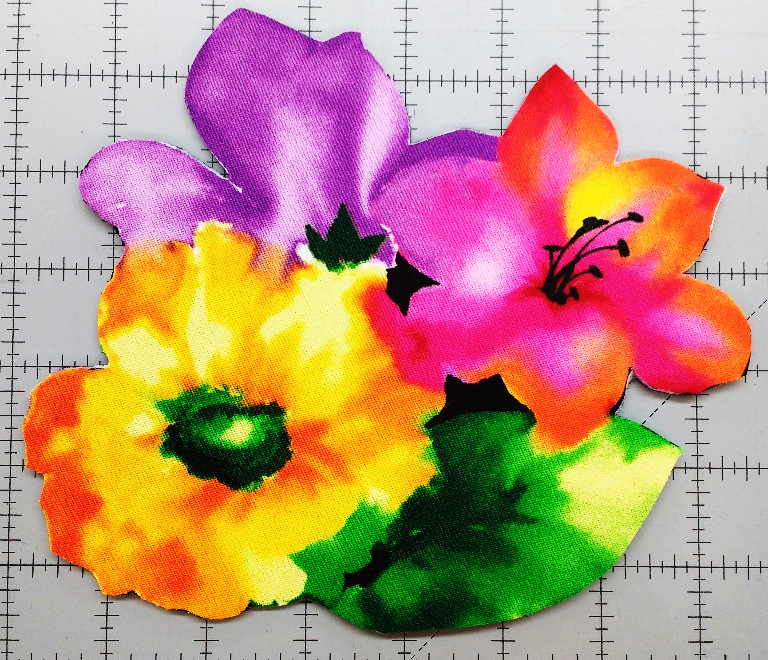
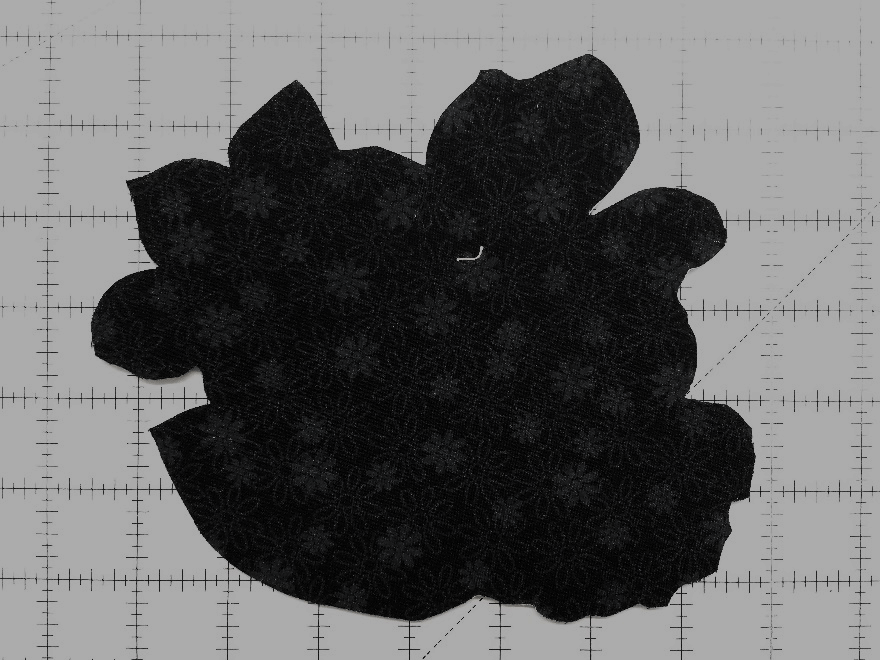
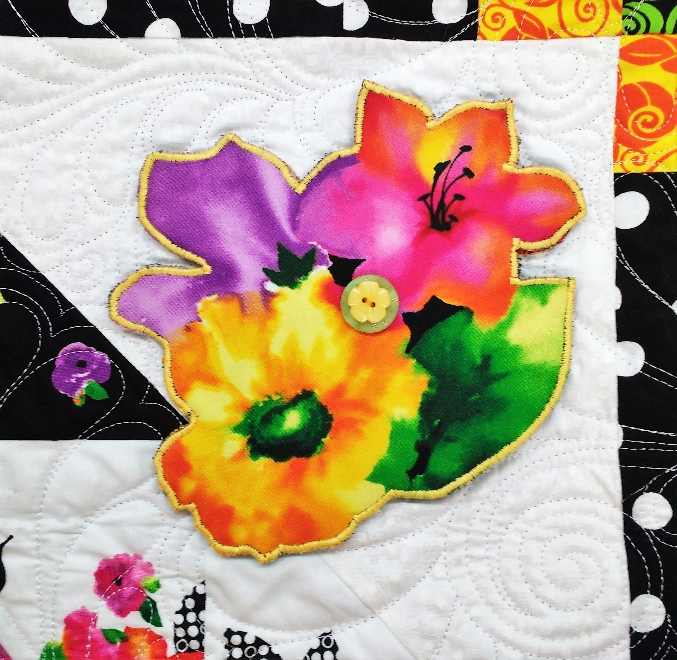
Once the layers are well fused, fussy-cut out applique shape.
Stitching – – – – – – – – – – – – – – – – – – – – – – – – – – – – – – –
Satin stitching is recommended for durability. I set my machine zig-zag at .3mm stitch length & 3.0mm stitch width. I used yellow thread on top & black thread in the bobbin to better match the fabrics. You can blanket stitch if preferred. Once stitched, trim any loose threads poking through the satin stitch.

Attach – – – – – – – – – – – – – – – – – – – – – – – – – – –
There are many ways to attach your embellishment. I opted for 2 stacked buttons from my button stash. I ran my stitch through the entire quilt for ease of stitching. Just be sure to make small stitches on the back & pull nice & tight. I like the buttons because they allow some movement of the applique.

Other Embellishing Ideas (not shown)
The red flower would be easily embellished with some French Knots on the stamen. You could also add seed beads or crystals to make the flowers glimmer.
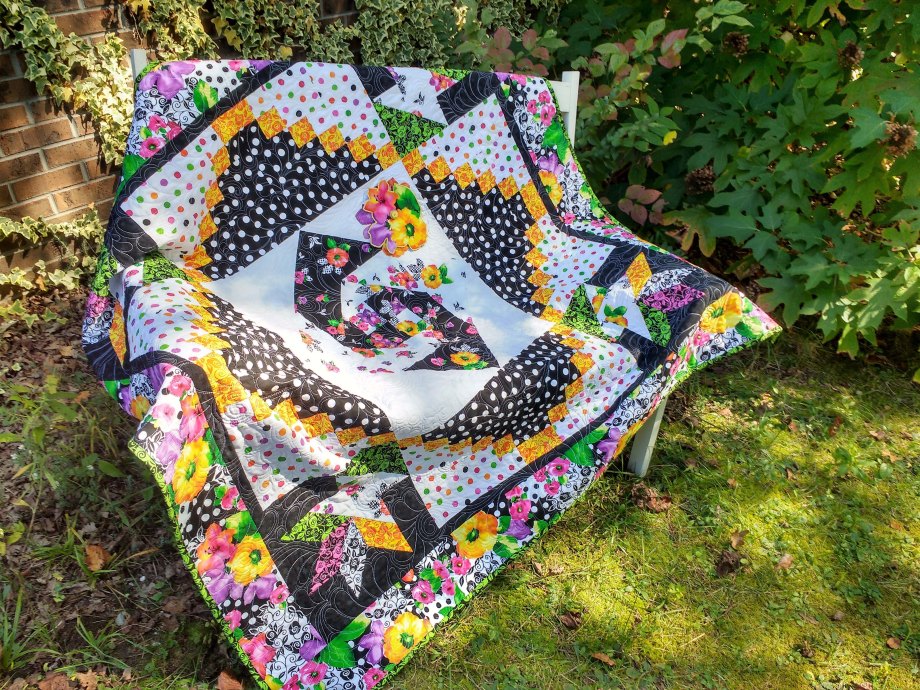
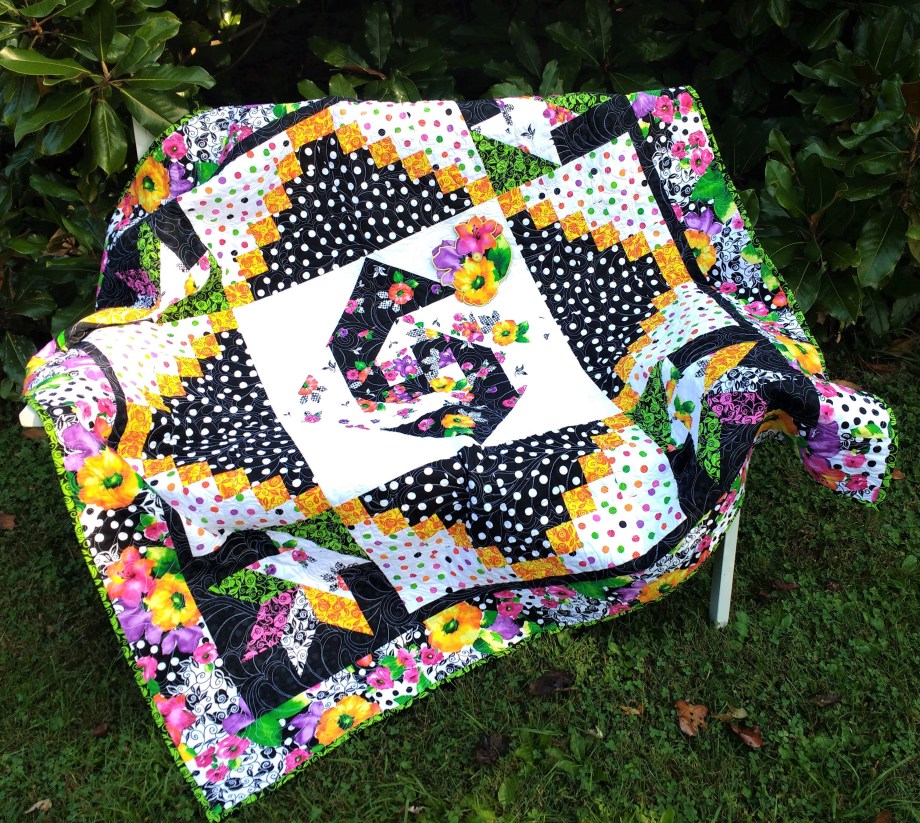
If you missed our earlier posts, just click over here, gather your supplies, then join in as we make this fun lap quilt together.
I am excited to see your finished quilts! Be sure to tag any social media posts with #QTBrookeQAL #QTFabrics so we can see your creations and share in your stitching fun!
If you have any questions, just comment or email me directly @ shannon@fabricsnquilts.com.
Last Chance to win!!!
One lucky winner will receive our entire Harmony collection as fat quarters – that’s 84 fat quarters! WOW!
There are multiple ways to enter the giveaway:
- Upload a photo using the hashtags (#QTBrookeQAL and #QTFabrics) on Instagram
- Comment on this blog
- Comment on the Facebook event with photos!
We’ll pick our winner from the comments or photos next week and will announce the winner on 12/27
HAPPY STITCHING – – – – – – – – – – – – – – – – – – – – – – – – – – – –


Love this quilt!!
LikeLiked by 1 person
This is an awesome project. Have it on my list for 2018. Thank you.
LikeLiked by 1 person
This is such a fun idea for 3D applique on projects. Thanks for the inspiration.
LikeLiked by 1 person
Such beautiful fabrics and a stunning quilt!
LikeLiked by 1 person
What a beautiful quilt. I love all those colors with the black and white polka dots.
LikeLike