
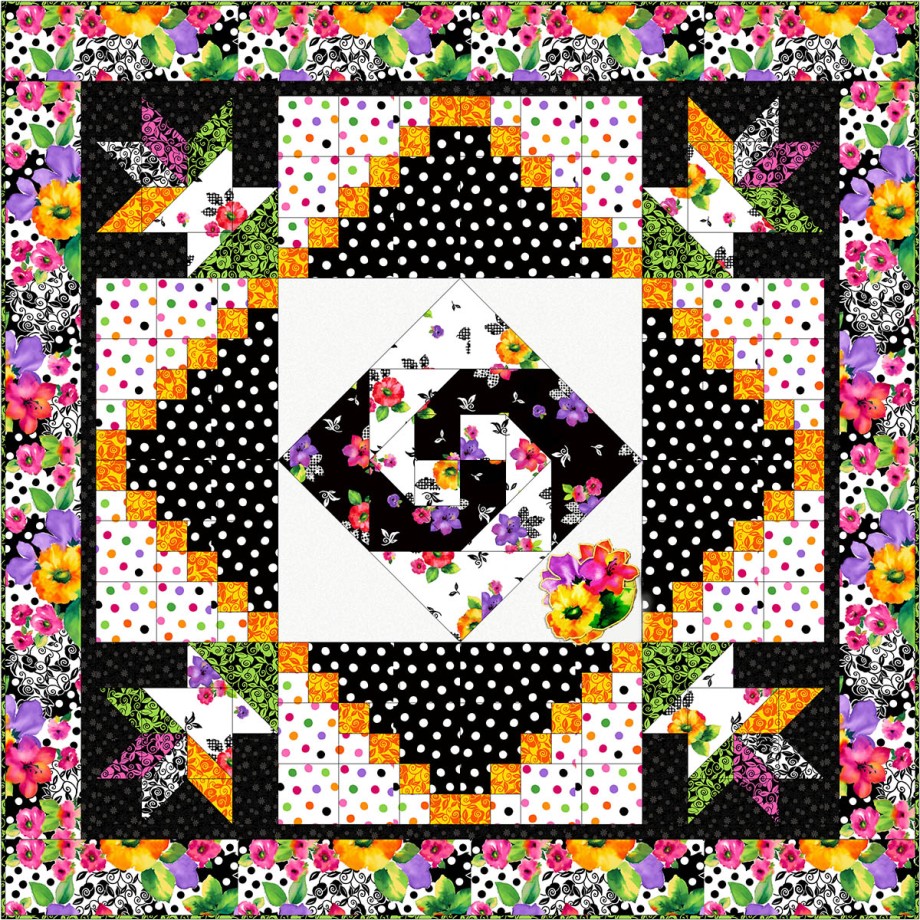
It’s time for our first blocks in the Brooke Quilt A-Long!
Aren’t you excited about the bright colors & large-scale patterns in Brooke? The fabrics are going to do much of the talking in our quilt, which lets us use big blocks for a fast finish. I don’t know about you, but sometimes I like to have a quick project. On those projects, I like to add a little extra touch of something unexpected and we’ll do that with our applique in our last step.
If you missed the introduction post, click here. Get all the details, gather your Brooke fabrics, then join in as we make this fun lap quilt together.
Before we begin, here are a few terms/guidelines we’ll follow throughout the Quilt-Along.
A few terms/guidelines we’ll follow throughout the Quilt Along:
- WOF – Width of Fabric. This is a cut made Selvage to Selvage.
- LOF – Length of Fabric. This is a cut made parallel/along to the Selvage.
TIP: Ever wondered why you’d cut this way? LOF is commonly used for borders so that they will not have to be pieced, matching patterns, also length of fabric also has less stretch.
- RST – Right Sides of the fabric Together (facing each other)
- WST – Wrong Sides of the fabric Together
- HST – Half Square Triangle
- Accurate ¼” seam allowances will insure your blocks finish to the correct size.
- Press all fabrics before cutting
Let’s sew! We’ll start with the chain blocks. These are simple blocks and we will use a strip piecing shortcut, making 8 of them.

Cutting – – – – – – – – – – – – – – – – – – – – – – – – – – – – – – – – – –
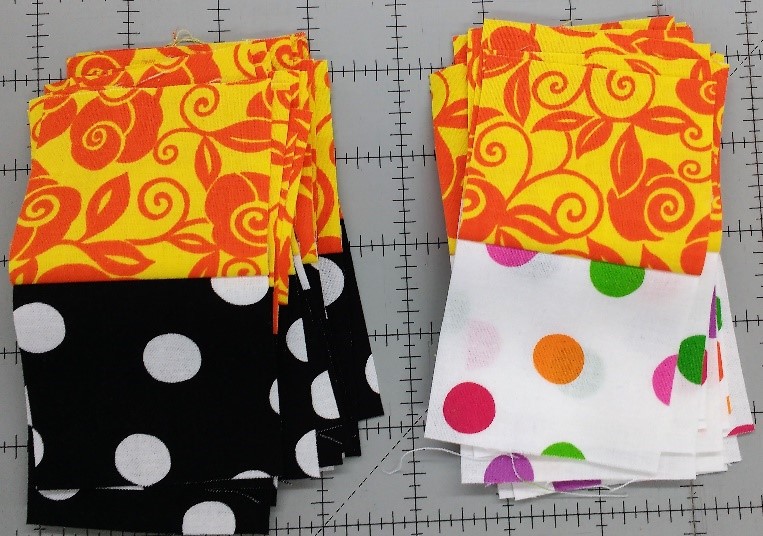
Yellow/Orange Floral Scroll, 26320-SO
(3) WOF Strips, 2.5” wide, sub cut (1) strip on the fold (creating 2.5” x approximately 21”)
Black/White Dots, 26321-JZ
(2) WOF Strips, 2.5” wide, sub cut (1) strip on the fold (creating 2.5” x approximately 21”)
(3) WOF Strips, 4.5” wide, sub cut (8) 4.5” squares & (8) 4.5” x 8.5” rectangles
Multi Dots, 26321-ZX
(2) WOF Strips, 2.5” wide, cut (1) strip on the fold (creating 2.5” x approximately 21”)
(3) WOF Strips, 4.5” wide, sub cut (8) 4.5” squares & (8) 4.5” x 8.5” rectangles

Four Patch Blocks- – – – – – – – – – – – – – – – – – – – – – – – – –
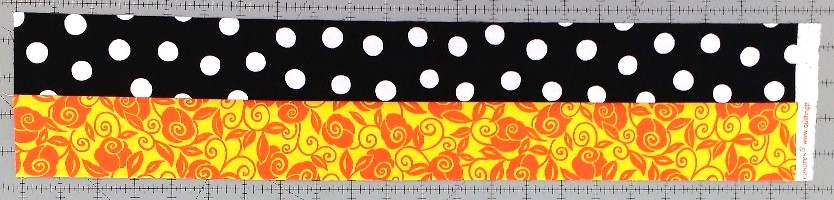
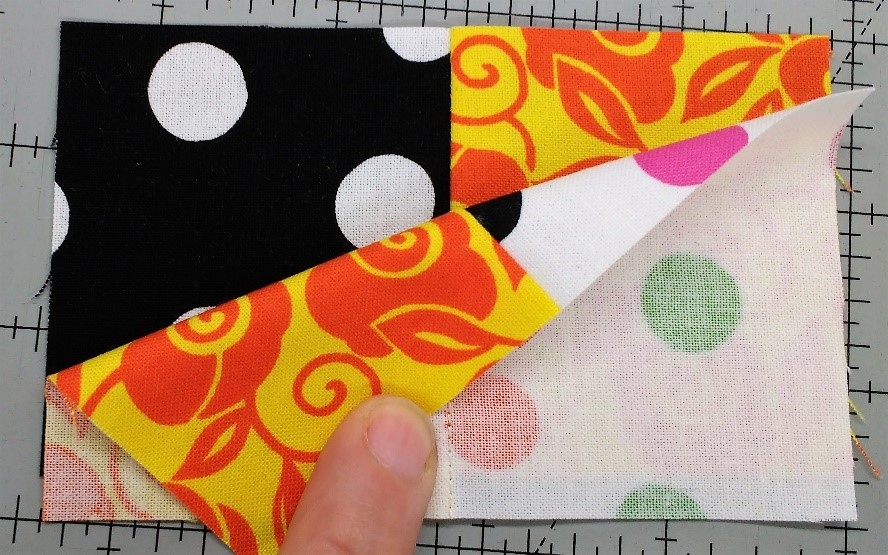
Pair one Yellow/Orange Floral Scroll 2.5” WOF strip with one Black/White Dot WOF strip RST. Stitch the long side, selvage to selvage. Press strips toward scroll fabric.
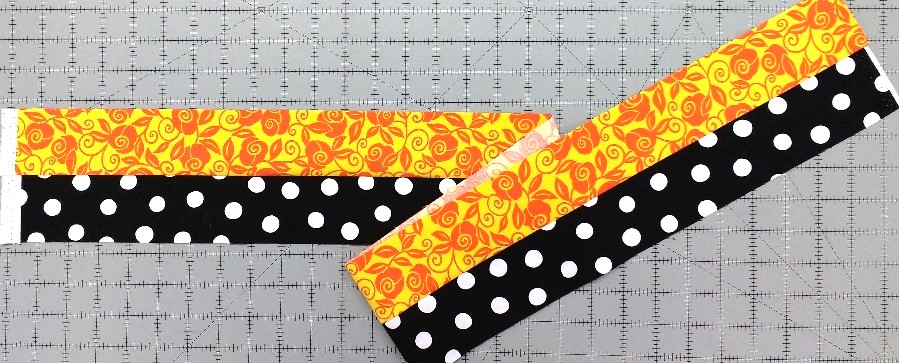
Repeat for half WOF strips.
Repeat stitching as above, with Multi colored Dots.
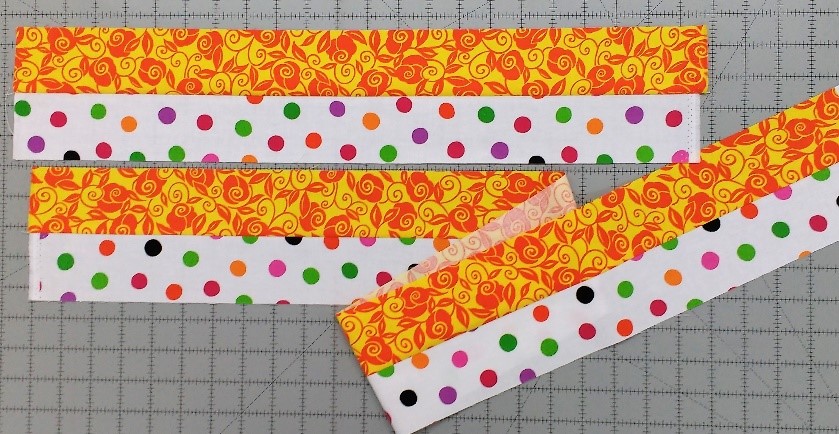
Sub-cut these pieced strips into 24 Multi/Orange and 24 Black/Orange 2.5” sections. Unit should measure 4.5” x 2.5”.
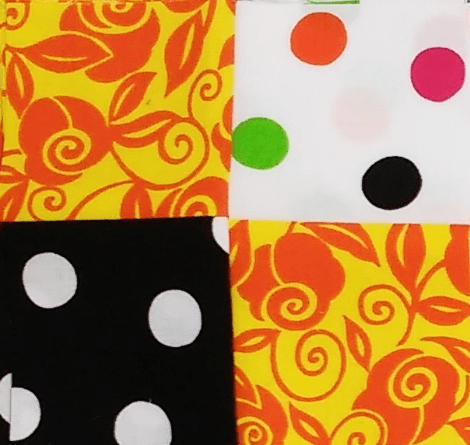
Pair one multi dot unit with one black/white dot unit from above. Butt seams for a good point.
Stitch pair. Repeat, making 24 Four Patches.
TIP: Chain stitching units will save time & thread. To chain stitch, take a few “empty stitches” after you finish the current seam. With your needle in the down position, lift presser foot & insert next unit to stitch. Lower presser foot and stitch seam. Repeat until all units are sewn.
Press Four Patch blocks to either side or open, as desired. Block should measure 4.5” x 4.5”
Complete Chain Block – – – – – – – – – – – – – – – – – – – – – – – –
Lay out the components of your block near the machine. I like to make stacks (8 deep since we are making 8 blocks), this allows me to chain piece the blocks for a faster finish.

Sew each row, pressing toward the rectangle or square (away from the four patch) for a flatter block. See arrows in diagram.
Stitch rows together, butting seams, just like we did with the four patches.
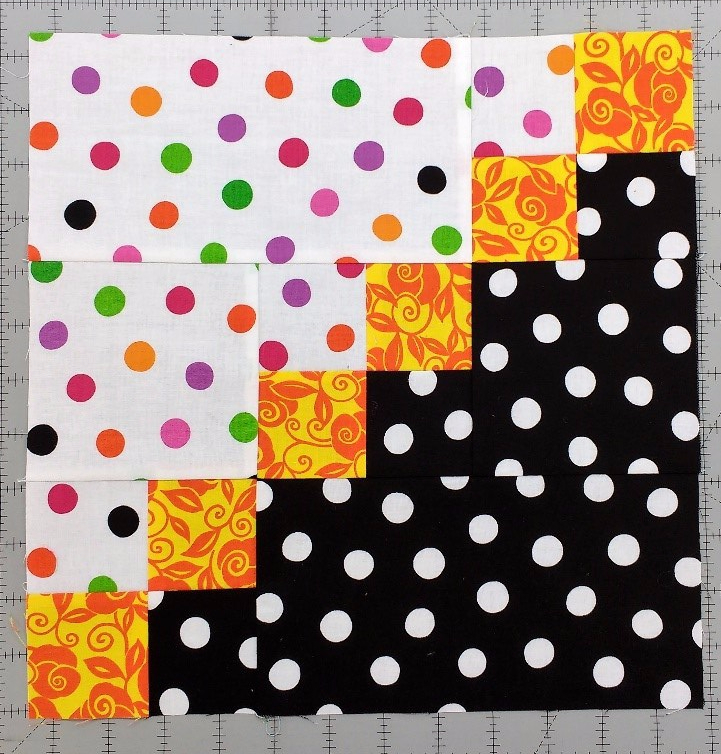
Tah-dahhhh! Your Chain block is completed! Make 8 total and come back next week!
I am excited to see your progress each week! Be sure to tag any social media posts with #QTBrookeQAL and #QTfabrics so we can see your blocks and share in your stitching fun!
Come back to the QT blog next Wednesday for the next block in our quilt. If you have any questions, just comment or email me directly @ shannon@fabricsnquilts.com.
HAPPY STITCHING – – – – – – – – – – – – – – – – – – – – – – – – – – – –

