Welcome back! Did you finish your Brooke Quilt A-Long Chain Blocks from last week?
If you missed our earlier posts, just click here, gather your supplies, then join in as we make this fun lap quilt together.
Before we continue, here are a few terms/guidelines we’ll follow throughout the Quilt Along:
- WOF – Width of Fabric. This is a cut made Selvage to Selvage.
- LOF – Length of Fabric. This is a cut made parallel/along to the Selvage.
- RST – Right Sides of the fabric Together (facing each other)
- WST – Wrong Sides of the fabric Together
- HST – Half Square Triangle
- Accurate ¼” seam allowances will insure your blocks finish to the correct size.
- Press all fabrics before cutting
I am using blue thread this week so you can better see my stitches on the fabric. I would normally use white or light gray thread when piecing this project.
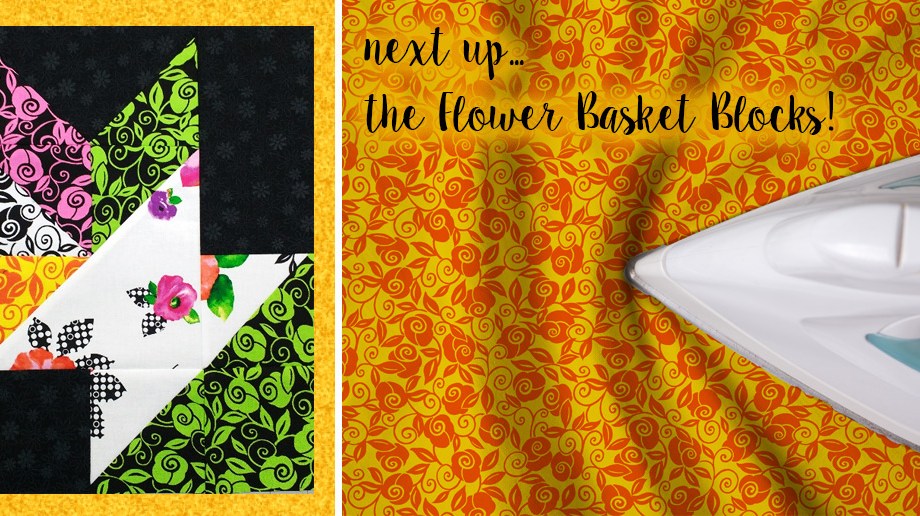
Let’s begin! This week we will be making the flower basket blocks. We’ll expand our skills by working with triangles.
Cutting – – – – – – – – – – – – – – – – – – – – – – – – – – – – – – – – – –
Yellow/Orange Floral Scroll, 26320-SO
(1) WOF Strip, 4” wide, Sub-cut (4) 3.5” squares, (2) 37/8” squares, cut on the diagonal 
Green/Black Floral Scroll, 26320-JH
(2) WOF Strip, 4” wide, Sub-cut (4) 4” squares, (8) 3.5” squares, (2) 37/8” squares, cut on the diagonal
Pink/Black Floral Scroll, 26320-JP
(1) WOF Strip, 4” wide, Sub-cut (2) 4” squares, (4) 3.5” squares
Black/White Floral Scroll, 26320-ZJ
(1) WOF Strip, 4” wide, Sub-cut (2) 4” squares, (4) 3.5” squares
Black Illusions, 21516-J
(3) WOF Strips, 3.5” wide. Sub-cut (4) 3.5” squares, (16) 6.5” x 3.5” rectangles
White Floral, 26318-Z
(4) 4” squares
(2) 6 7/8” squares, cut on diagonal
Flying Geese – – – – – – – – – – – – – – – – – – – – – – – – –
We will use the stitch & flip method.

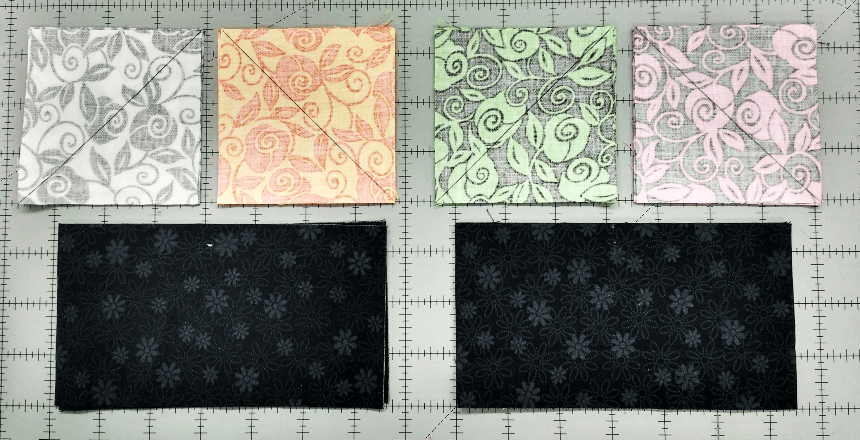
Mark diagonal line on fabric’s wrong side. (4) 3.5” squares in each color of floral scroll.
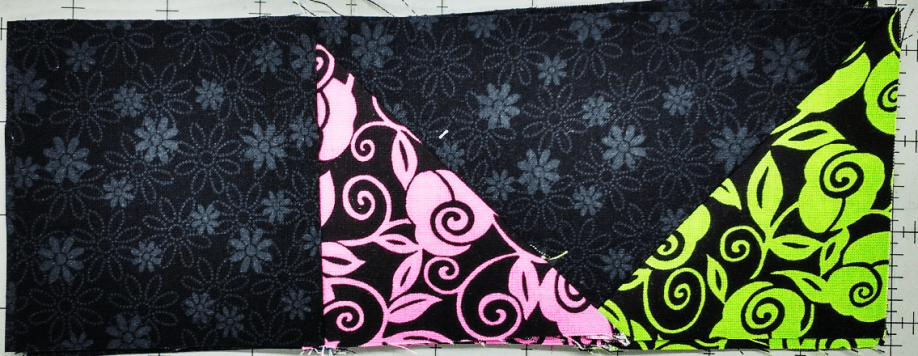
We’ll make 4 white/yellow geese & 4 green/pink geese. Make separate piles for each block, pairing your marked squares with (4) 6.5”x3.5” black rectangles.
Line up green scroll square with left side of black rectangle. Stitch directly on the line you marked on green square.
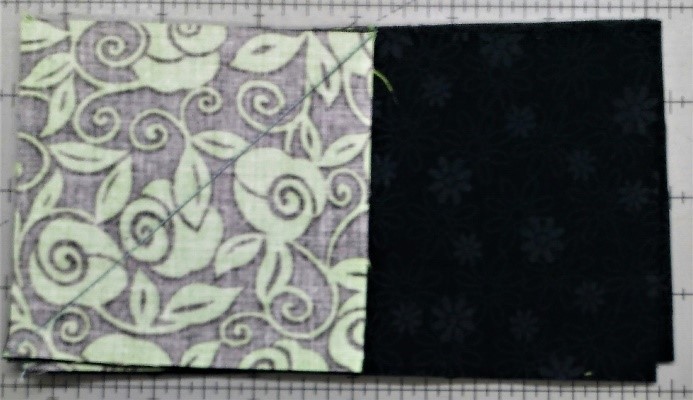
Repeat above steps for all 4 green/black blocks.
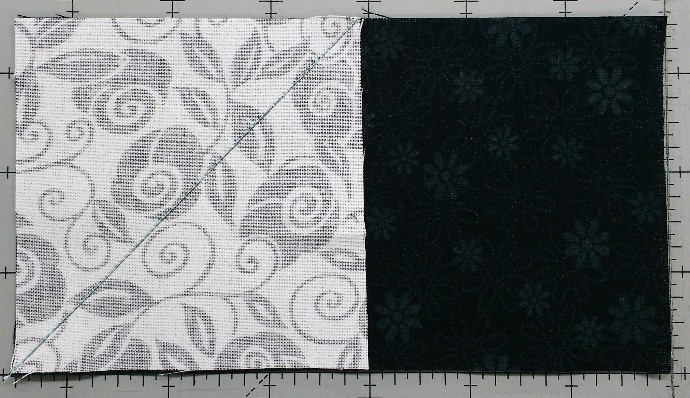
Repeat above steps with white scroll fabric from other flying geese stack. Repeat for all 4 blocks.
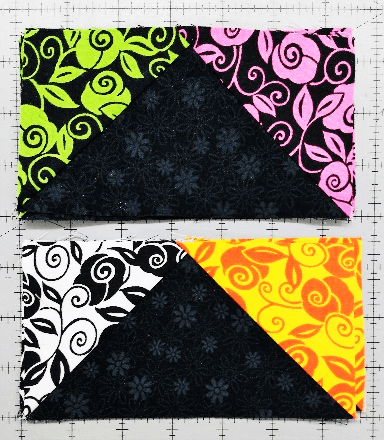
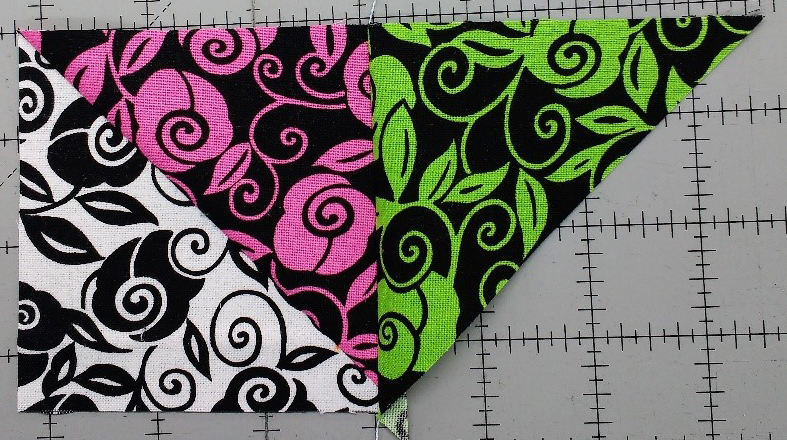
Press all 8 blocks toward the corner, “flipping” the green fabric over so that the 2 halves of the green fabric are now WST.
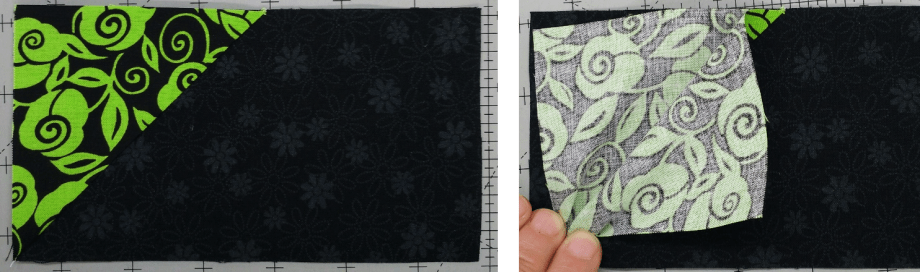
Trim the seam allowance to ¼”. Discard the trim off triangles.

<——– Place the ¼” line on your seam allowance & trim at the ruler’s edge
Line up the pink square on the right side of the Green/Black geese unit. Stitch directly on the line you marked. Repeat for all 4 blocks, press & trim as above.
Repeat steps above to complete Orange/White geese units.

Repeat steps as before to trim seam allowances to complete the blocks. Finished size 3.5” x 6.5”
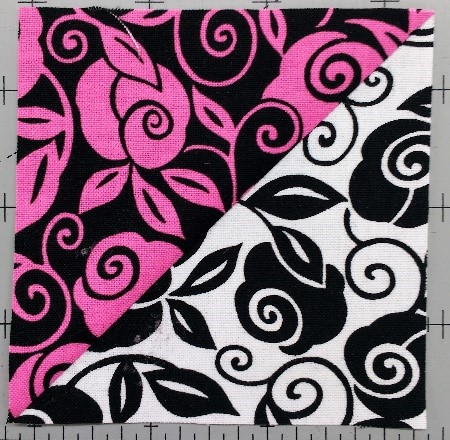
Half Square Triangles (HST)- – – – – – – – – – – – – – – – – – – – – – – – – 
Next up is 4 Pink Scroll/White Scroll HST’s and 8 Green Scroll/White Floral HST’s.
Since we get 2 HST squares from each fabric, set aside
*(2) Pink & (2) White Scroll 4” squares,
*(4) Green Scroll & (4) White Floral 4” squares.
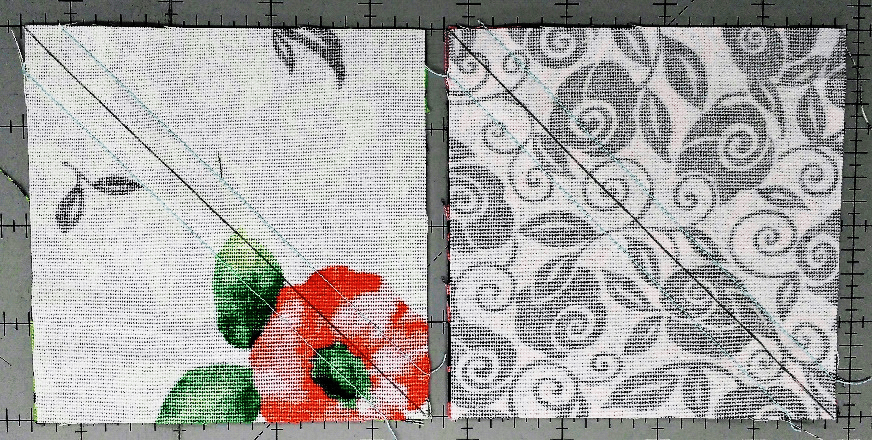
Mark the diagonal line on the back of all 6 white squares.
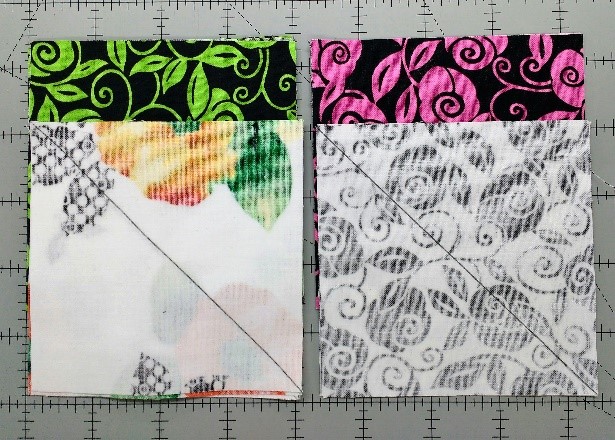
Pair the squares, RST. Stitch ¼” on each side of the drawn line. Repeat for all 6 blocks.
Cut the drawn line on each block.
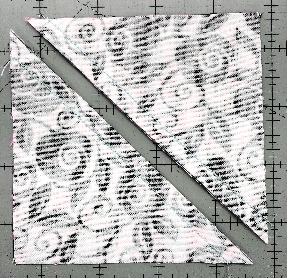
Press toward Pink or Green fabric in each block.

Square up each block to 3.5”
TIP: Our ruler’s diagonal line comes to the corner of the ruler. Be sure yours does too before you trim your blocks as outlined below. If your ruler does not come to the corner, you’ll have to turn your block for each side’s trimming.
Place the diagonal line of your square ruler along your stitch line, trim along the side & top of ruler.
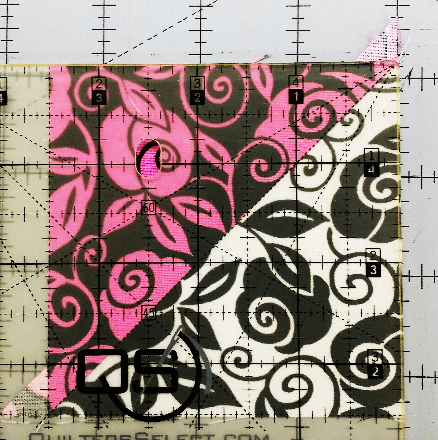
Turn block so that the trimmed sides are under the ruler. Line up ruler & stitch line again & trim remaining 2 sides.
Repeat for all blocks
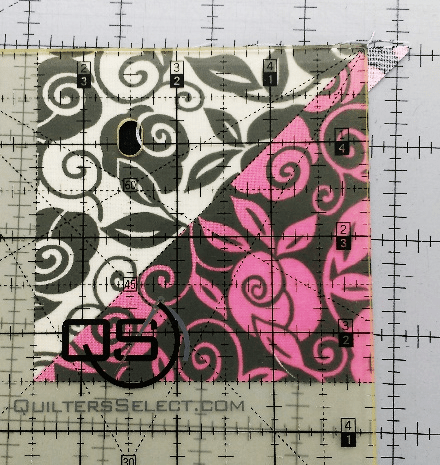
Block Center – – – – – – – – – – – – – – – – – – – – – – – – –
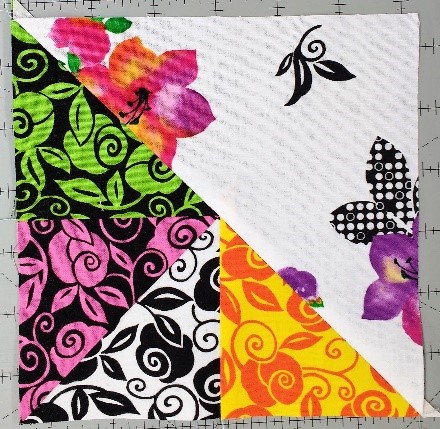
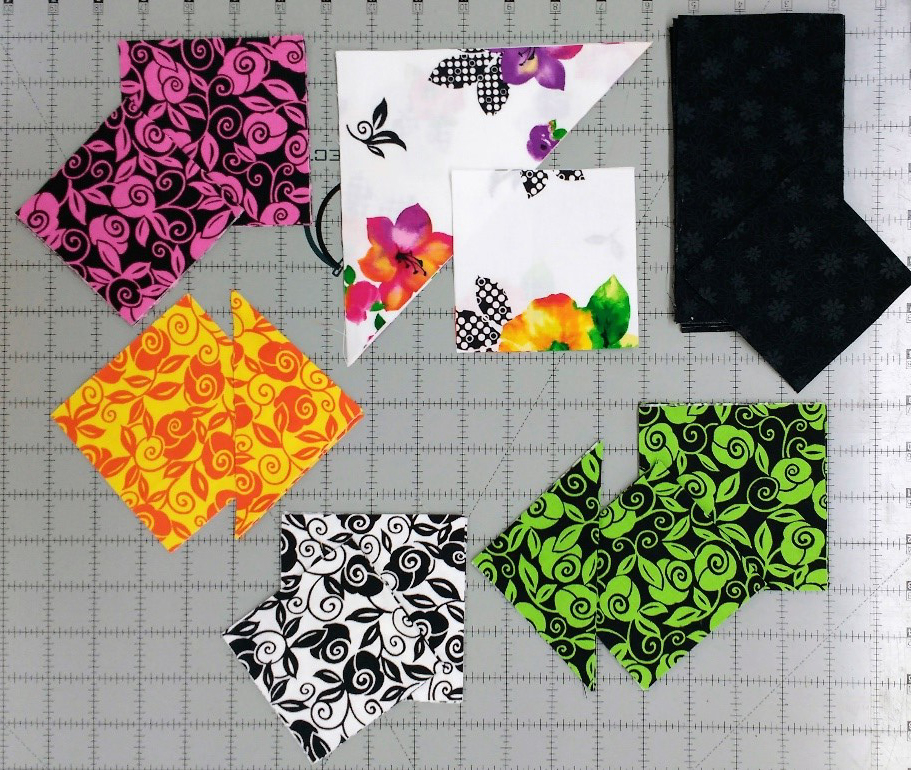
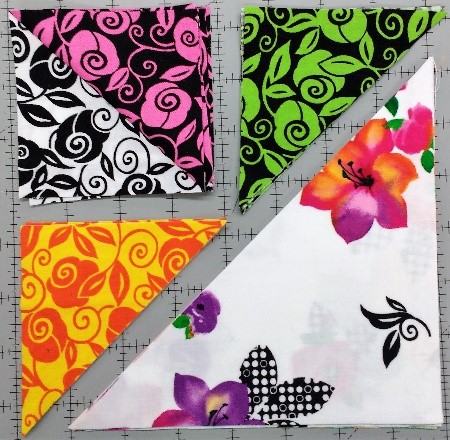
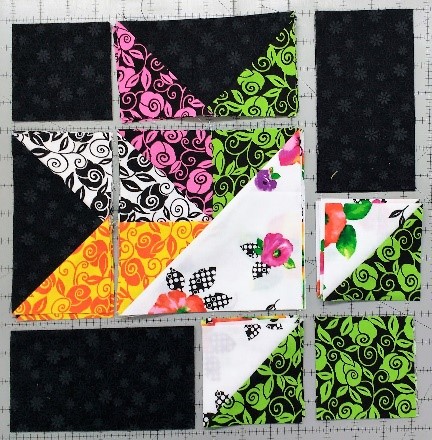
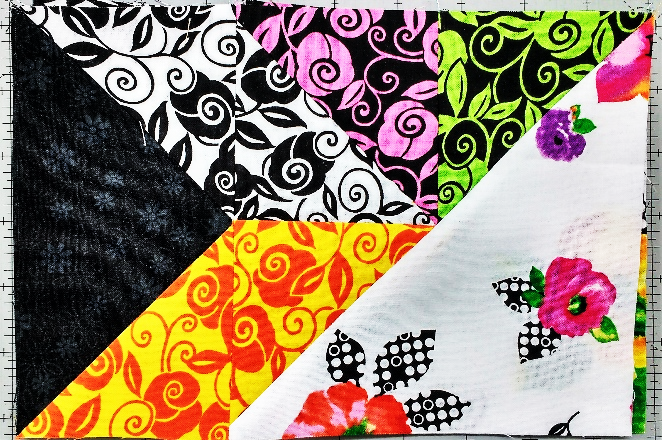
Layout the pieces near your sewing machine: 4 each of the Pink/White HST (from the last step), Yellow Scroll Triangle, Green Scroll Triangle, and larger White Floral Triangle.
Watch the direction of your units so that you don’t inadvertently stitch to the wrong side. Stitch the green triangle to the right of the HST. Repeat for all 4 units. Gently press toward green fabric. You may iron or finger press this seam.
Stitch the Yellow triangle to the bottom of the HST. Repeat for all 4 units. Gently press toward yellow fabric. You may iron or finger press this seam.
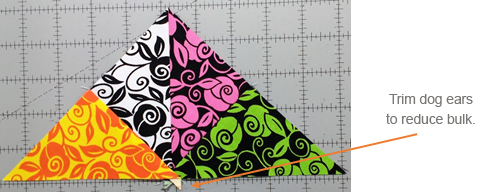
Stitch the 6 7/8” White Floral triangle to create square. Repeat for all 4 units. Press toward White Floral fabric. Block should measure 6.5”. Square up if necessary.
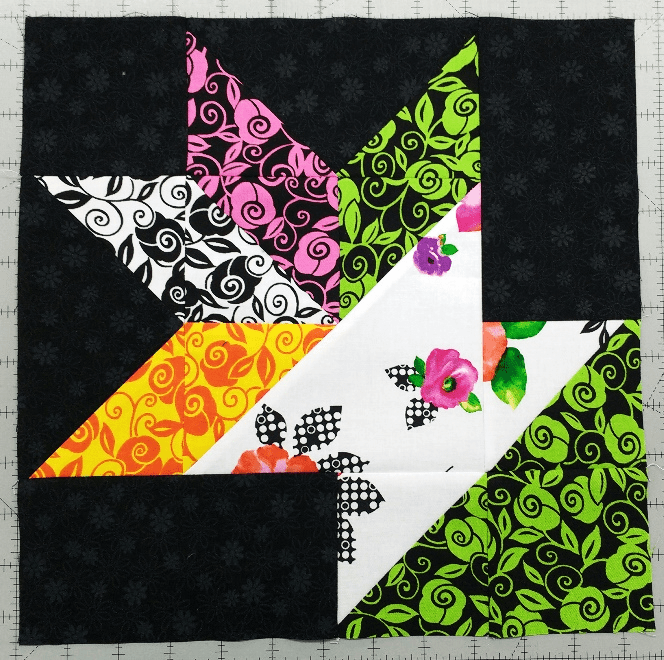
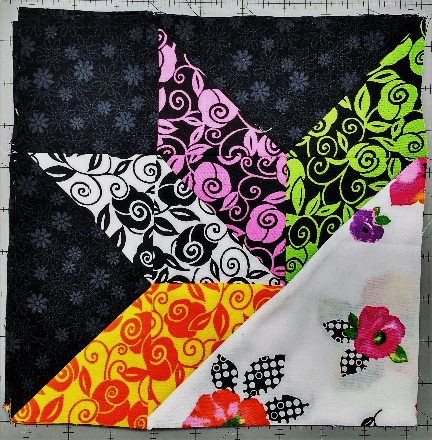
Complete Flower Basket Block – – – – – – – – – – – – – – – – – – – – – – – – –
Lay out the components of your block near the machine. I like to make stacks (4 deep since we are making 4 blocks), this allows me to chain piece the blocks for a faster finish.
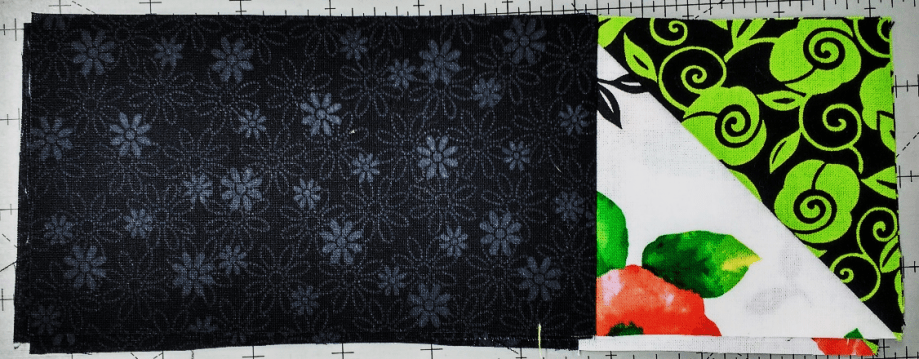
Stitch 3.5” black square to Pink/Green Scroll flying geese block. Repeat for all 4 blocks. Press toward Square.
Stitch White/Yellow Scroll flying geese block to side of basket center square. Repeat for all 4 blocks. Press seam open for the flattest block, or to one side if you prefer.
Stitch the 2 completed components together.
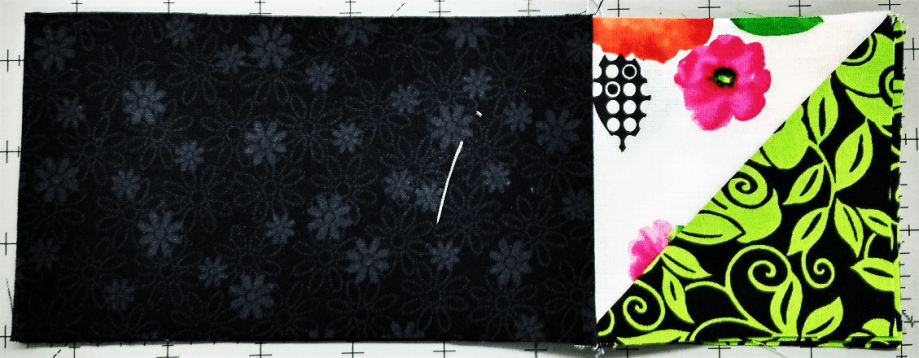
Stitch (4) White Floral/Green Scroll HST to Black Illusion rectangle. Note direction of HST. Make 4 units.
Stitch to side of center block units.
Stitch remaining (4) White Floral/Green Scroll HST to Black Illusion rectangle. Note direction of HST. Press toward rectangle.
Stitch Green 3.5” square to this unit. Press toward square. Make 4 units.
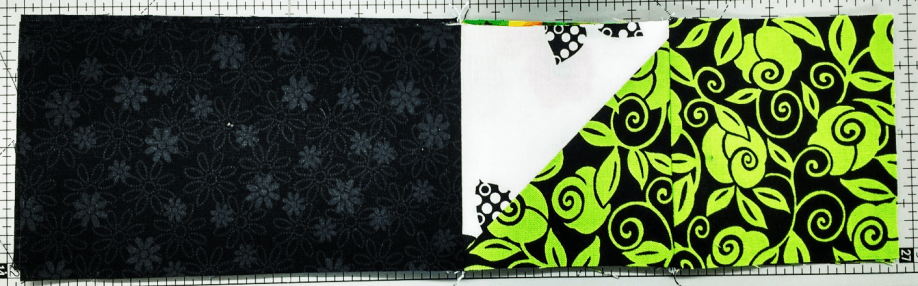
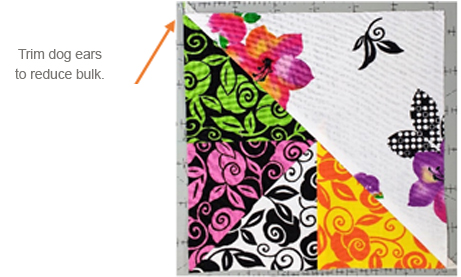
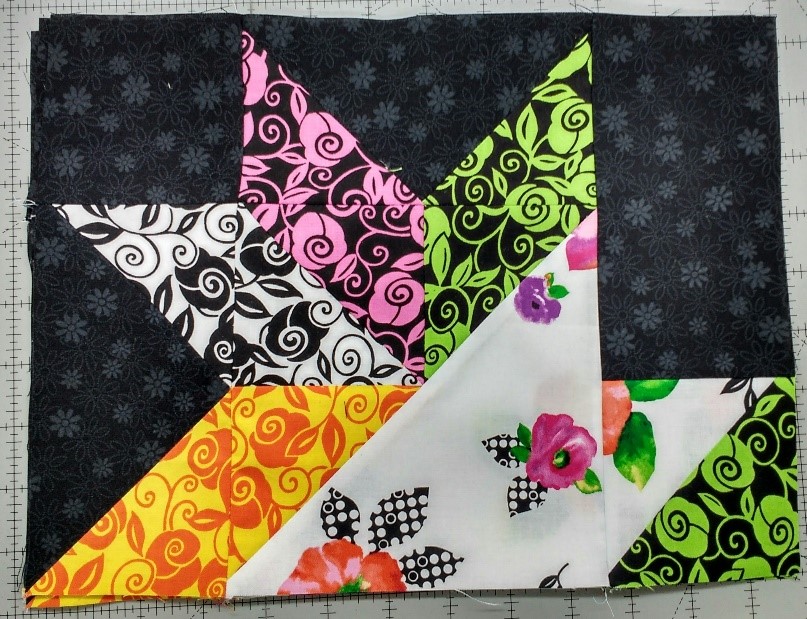
Stitch to bottom of center block units, finishing the 12.5” block.

Woohoo!
I am excited to see your progress each week! Be sure to tag any social media posts with #QTBrookeQAL and #QTfabrics so we can see your blocks and share in your stitching fun!
Come back to the QT blog next Wednesday for the next block in our quilt. If you have any questions, just comment or email me directly @ shannon@fabricsnquilts.com.
**Reminder**
We will have a big giveaway the last week of the quilt-along! One lucky winner will receive our entire Harmony collection as fat quarters – that’s 84 fat quarters! WOW!
There are multiple ways to enter the giveaway:
- Upload a photo using the hashtags (#QTBrookeQAL and #QTFabrics) on Instagram
- Comment on this blog
- Comment on the Facebook event with photos!
HAPPY STITCHING – – – – – – – – – – – – – – – – – – – – – – – – – – – –


Thank you for the wonderful instructions. Very detailed with sharp pictures.
LikeLiked by 1 person
Love the prints and colors in this quilt. The black is the perfect contrast.
LikeLiked by 1 person